How to Capture Long Exposure & Motion Blur with the iPhone
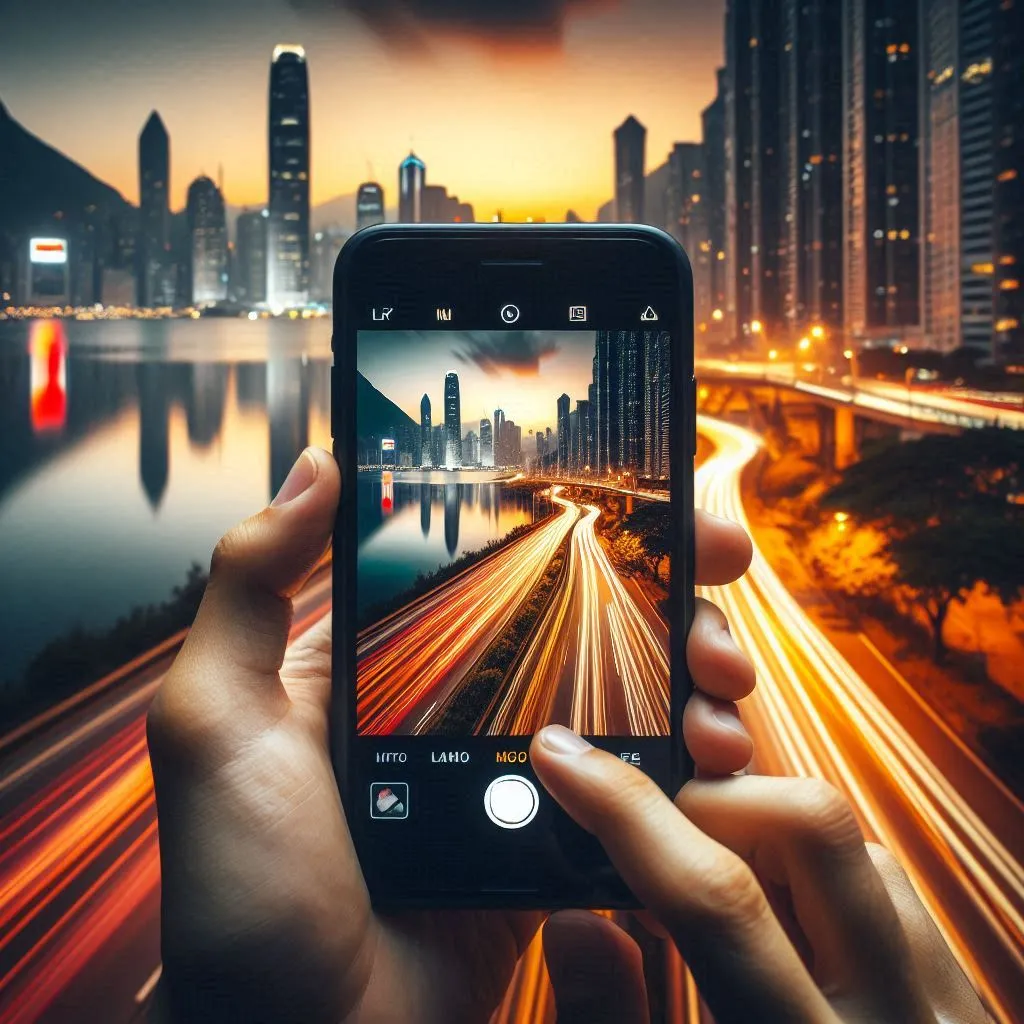
Capturing long exposure and motion blur photographs can transform ordinary scenes into extraordinary ones. Traditionally, achieving this effect required a DSLR or mirrorless camera, but with advancements in smartphone technology, even your iPhone can now produce stunning long exposure and motion blur shots.
Understanding Long Exposure and Motion Blur in iPhone
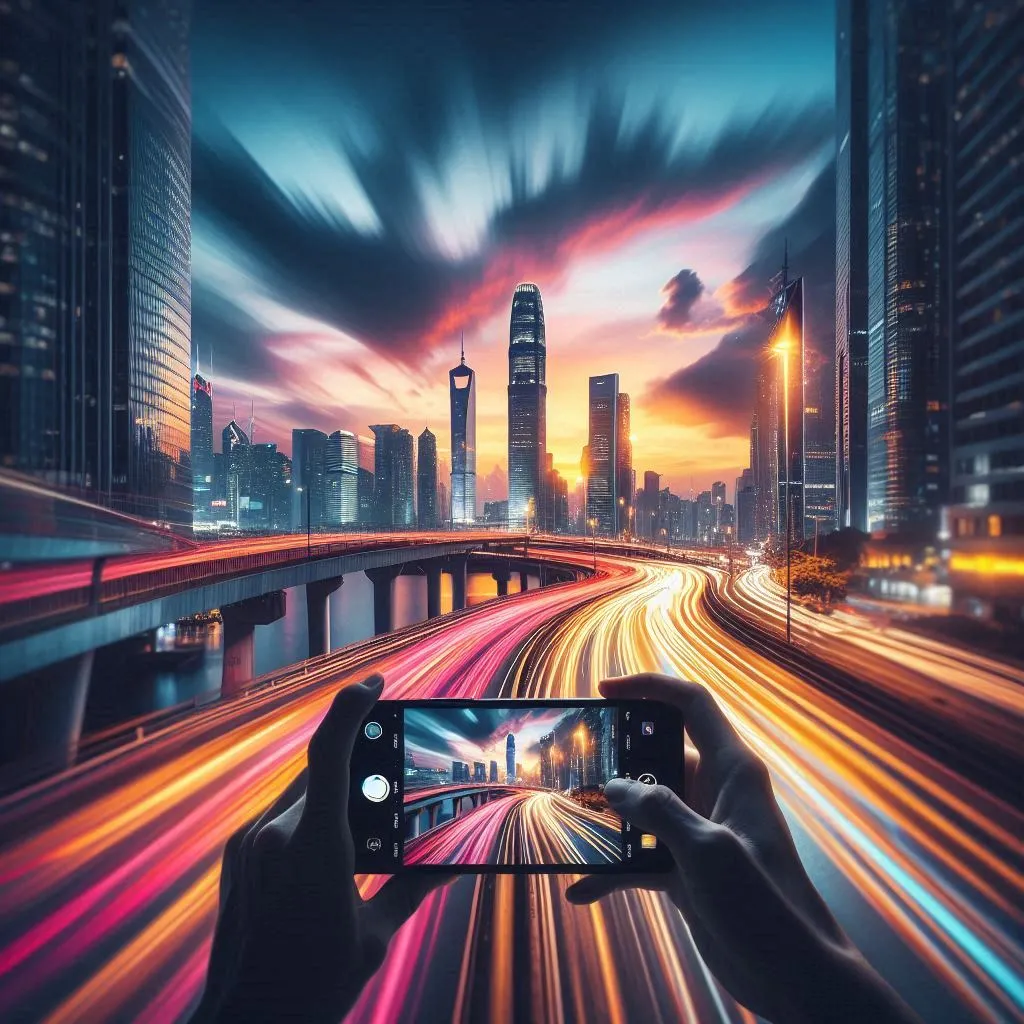
Long Exposure involves keeping the camera’s shutter open for an extended period, allowing more light to hit the sensor. This technique is often used to capture light trails and flowing water or to create a sense of motion in a static scene.
Motion Blur refers to the streaking effect that occurs when a moving object is captured during a long exposure. It emphasizes the movement of the subject while keeping other parts of the image sharp.
Why Use an iPhone for Long Exposure and Motion Blur?
iPhones come equipped with powerful cameras and sophisticated software that can handle long exposure and motion blur photography. Here are some reasons to use your iPhone:
- Portability: You always have your iPhone with you, making it convenient to capture spontaneous moments.
- Ease of Use: The iPhone’s camera interface is user-friendly, and numerous apps can enhance your photography.
- Advanced Technology: Modern iPhones have excellent low-light performance, image stabilization, and powerful processors to handle complex photo editing.
Getting Started: Basic Requirements
Before you dive into capturing long exposure and motion blur shots, ensure you have the following:
- iPhone: Preferably a model with advanced camera capabilities (iPhone XS or newer).
- Tripod: To keep your iPhone stable during long exposures.
- Apps: While the native camera app is good, third-party apps like Slow Shutter Cam or Specter offer more control.
- Remote Shutter or Timer: To avoid camera shake when taking the shot.
Using the Native Camera App
The native iPhone camera app doesn’t directly support long exposure, but you can achieve similar effects using the Live Photos feature.
- Enable Live Photos: Open the Camera app and ensure the Live Photos icon (a series of concentric circles) is enabled.
- Capture the Photo: Hold your iPhone steady and take the photo.
- Edit for Long Exposure: Open the photo in the Photos app, swipe up to reveal effects, and select “Long Exposure.”
This method works best for scenes with moderate motion, such as waterfalls or moving cars at night.
Using Third-Party Apps
For greater control over your long exposure shots, third-party apps like Slow Shutter Cam or Specter are invaluable.
Slow Shutter Cam
- Download and Open: Install Slow Shutter Cam from the App Store and open it.
- Set the Mode: Choose the mode based on your subject:
- Motion Blur: For moving subjects.
- Light Trail: For capturing light trails from cars or fireworks.
- Low Light: For night photography.
- Adjust Settings: Set the exposure time and sensitivity based on your scene.
- Capture the Photo: Use a tripod and a remote shutter or timer to take the photo.
Specter
- Download and Open: Install Specter from the App Store and open it.
- Set the Exposure Time: Choose the desired exposure time (3, 5, or 9 seconds).
- Stabilize Your iPhone: Use a tripod for best results.
- Capture the Photo: Tap the shutter button and hold your iPhone steady.
Tips for Capturing Stunning Long Exposure and Motion Blur Photos
- Use a Tripod: Stability is crucial for long exposures. A tripod ensures your iPhone remains steady.
- Experiment with Exposure Time: Different scenes require different exposure times. Experiment to find the best setting.
- Control Light: Too much light can overexpose your photo. Shoot during dawn, dusk, or in shaded areas for better control.
- Focus on Composition: Pay attention to framing and composition to enhance the visual impact of your photo.
- Use a Remote Shutter: This minimizes camera shake and helps you get sharper images.
Practical Applications and Examples
Light Trails
Scenario: Capturing car light trails on a busy street.
Steps:
- **Set up your iPhone on a tripod at a busy intersection.
- **Open Slow Shutter Cam and select the “Light Trail” mode.
- **Adjust the exposure time to 10–30 seconds depending on the traffic flow.
- **Capture the photo using a remote shutter or timer.
Tips:
- Choose a location with a good amount of traffic.
- Experiment with different exposure times to get the desired effect.
Flowing Water
Scenario: Capturing the smooth, silky effect of a waterfall or flowing river.
Steps:
- **Set up your iPhone on a tripod near the waterfall or river.
- **Open Slow Shutter Cam and select the “Motion Blur” mode.
- **Adjust the exposure time to 2–10 seconds, depending on the speed of the water.
- **Capture the photo using a remote shutter or timer.
Tips:
- Early morning or late afternoon light is ideal for waterfall shots.
- If the water is very fast, a shorter exposure time will still give a smooth effect.
Star Trails
Scenario: Capturing the motion of stars in the night sky.
Steps:
- **Find a dark location away from city lights.
- **Set up your iPhone on a tripod and point it towards the sky.
- **Open Specter and set the exposure time to 9 seconds.
- **Capture the photo and ensure your iPhone is steady during the entire exposure.
Tips:
- Use a star-tracking app to locate interesting constellations.
- Be patient and try multiple exposures to get the best result.
Editing Your Photos
After capturing your long exposure or motion blur photos, you may want to enhance them further using editing tools.
Using the Photos App
- Open the photo in the Photos app.
- Tap Edit to bring up the editing tools.
- Adjust Brightness, Contrast, and Saturation to enhance the photo.
- Use the Crop and Straighten tools to refine your composition.
Using Third-Party Editing Apps
For more advanced editing, consider apps like Snapseed, Lightroom, or VSCO.
- Snapseed:
- Open the photo in Snapseed.
- Use tools like Tune Image, Details, and Curves to fine-tune the exposure and contrast.
- Apply selective adjustments to enhance specific areas of the photo.
- Lightroom:
- Import the photo into Lightroom.
- Use the Basic panel to adjust exposure, contrast, highlights, and shadows.
- Apply local adjustments with the Brush, Radial, or Graduated Filter tools.
- VSCO:
- Open the photo in VSCO.
- Apply a preset to give your photo a unique look.
- Fine-tune the preset with tools like Exposure, Contrast, and Temperature.
Sharing Your Photos
Once you’ve captured and edited your long exposure or motion blur photos, it’s time to share them with the world.
Social Media
- Instagram:
- Use relevant hashtags like #LongExposure, #MotionBlur, or #iPhonePhotography to reach a wider audience.
- Tag photography accounts to get featured.
- Facebook:
- Share your photo in photography groups for feedback and inspiration.
- Create an album dedicated to your long exposure and motion blur photos.
- Twitter:
- Tweet your photo with engaging captions and hashtags.
- Participate in photography challenges and discussions.
Photography Communities
- Flickr:
- Join groups dedicated to long exposure and iPhone photography.
- Engage with other photographers by commenting on their work.
- 500px:
- Create a portfolio showcasing your best long exposure and motion blur shots.
- Participate in photo contests and challenges.
Troubleshooting Common Issues
Overexposure
Problem: Your photo is too bright and lacks detail.
Solution:
- Reduce the exposure time.
- Shoot in lower light conditions.
- Use a Neutral Density (ND) filter if available.
Camera Shake
Problem: Your photo is blurry due to camera movement.
Solution:
- Use a sturdy tripod.
- Activate the timer or use a remote shutter to minimize shake.
- Enable image stabilization if available in your app.
Lack of Motion Blur
Problem: The motion blur effect is not prominent.
Solution:
- Increase the exposure time.
- Ensure the subject is moving fast enough to create a blur.
- Use apps that offer better control over motion blur settings.
Advanced Techniques
Combining Multiple Exposures
Combine multiple exposures to create stunning composite images.
- Take multiple long exposure shots of the same scene.
- Editing software like Photoshop can be used to layer the images and blend them for a more dramatic effect.
Light Painting
Create unique light trails by moving a light source during a long exposure.
- Set your iPhone on a tripod in a dark environment.
- Open Slow Shutter Cam and select “Light Trail” mode.
- Use a flashlight or LED light to draw patterns in the air while the shutter is open.
Conclusion
Capturing long exposure and motion blur photos with your iPhone opens up a world of creative possibilities. With the right tools and techniques, you can transform everyday scenes into captivating works of art. Whether you’re photographing flowing water, light trails, or starry skies, your iPhone is a powerful tool that can help you achieve stunning results. So grab your iPhone, experiment with these techniques, and share your beautiful creations with the world!
