How to Change the Country On iPhone?
You must update the country or region linked to your Apple ID to live in another country or use its applications and services. But before you make any adjustments, it’s important to remember a few things, such as terminating your memberships and removing yourself from the Family Sharing group. Let me walk you through how to alter the nation or region of the Apple Store on the iPhone, iPad, and Mac so you can learn more.
Are you moving from one country to another, or do you want to access information from other nations? Whatever prompted your curious mind to bring you here, changing countries on your iPhone is a simple process.
Change the iTunes and App Store’s country settings
Before you may change the nation of your iTunes and App Store settings, you must follow these steps:
- Renew any active subscriptions, including Apple apps, music, and Apple TV+.
- Unless you are the family organizer, leave your family sharing group.
- Use whatever credit is still in your Apple ID account.
- Download any media you wish to access in the future, including apps, music, movies, TV series, books, etc.
Additionally, you must confirm that you have created a valid payment method for your new country for all the information and billing address processes. You must add this payment method to your Apple ID account when you switch countries.
What Should You Do Before Moving to a New Country or Region?
Here is a checklist you must adequately follow before making any necessary changes to native Apple apps and the App Store.
- You must terminate your iTunes and App Store memberships, such as Apple Music, Apple Arcade, and Apple News+, and wait until their expiration dates.
- Before switching countries or regions, use any leftover store credit on your Apple ID. Additionally, you can contact Apple Support if your store credit balance is less than the price of a single item.
- Wait until your memberships, movie rentals, or season passes expire. Additionally, if you requested a store credit refund, please wait until it has been granted.
- You’ll also need to cancel your subscription as part of a family-sharing group.
- Verify that you have secured payment options with terms and conditions for that country.
- Make a backup of all your media services, books, and apps on a different device. Because a place you visit cannot have access to the same content as you do.
Steps to Follow Change Country On iPhone
Step 1:
The gear icon on your iPhone’s home screen indicates where to start by opening the settings app
Step 2:
To access the details of your current iCloud and App Store accounts, tap on your name at the top of the settings list.
Step 3:
Sign in at the top of the iTunes window, click Account, then click View My Account row by tapping it.
Step 4:
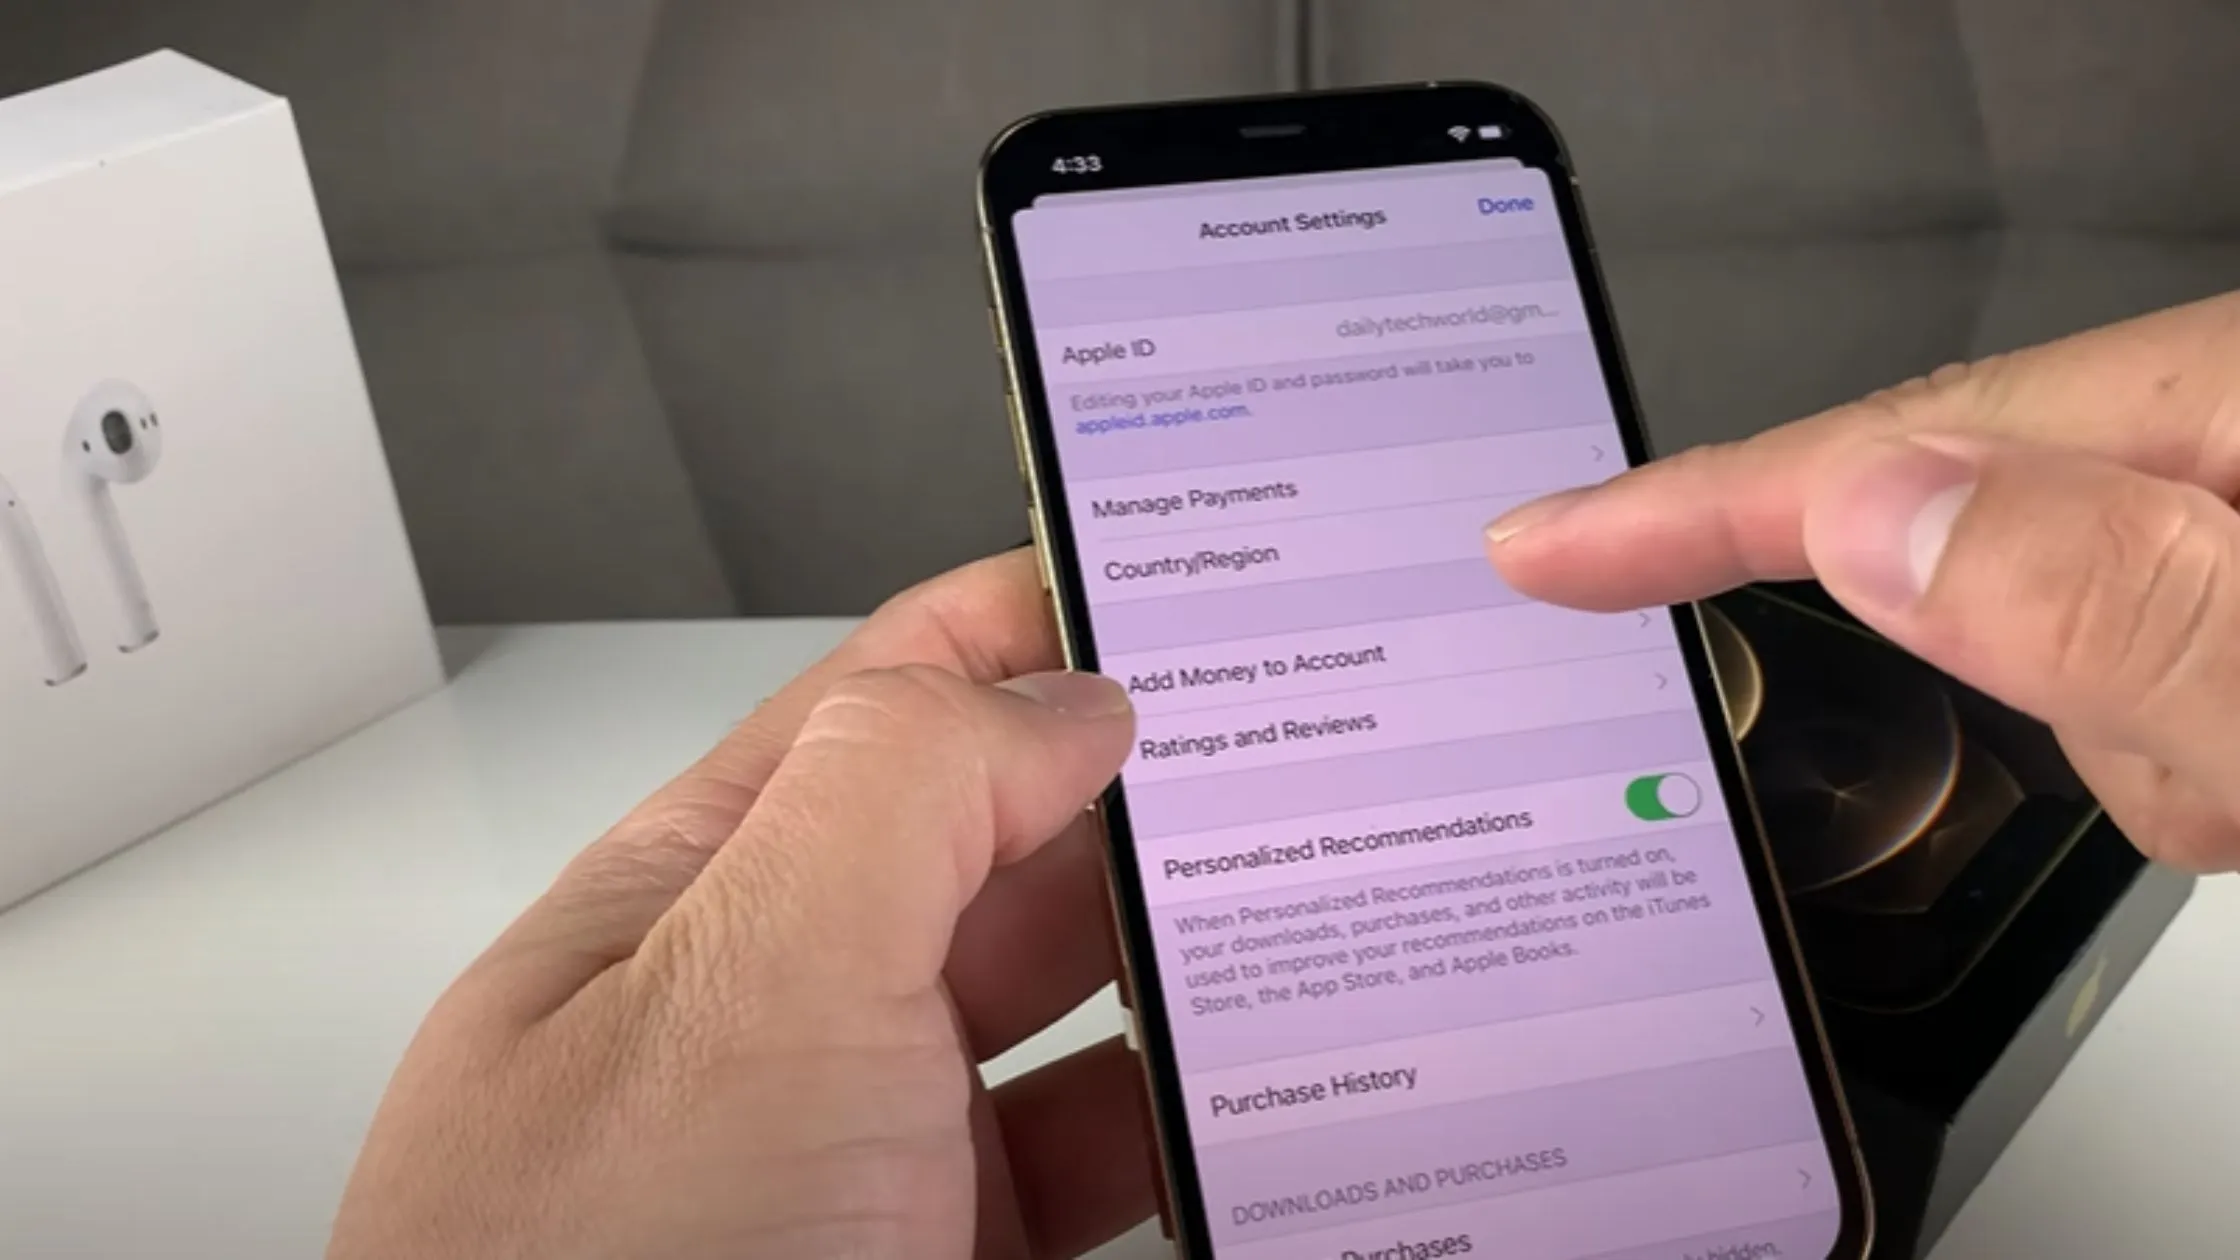
Tap the “View Apple ID” option from the dialogue box after selecting your email address for the App Store. You might be asked to enter your password or use Touch ID to verify your fingerprint.
Step 5:
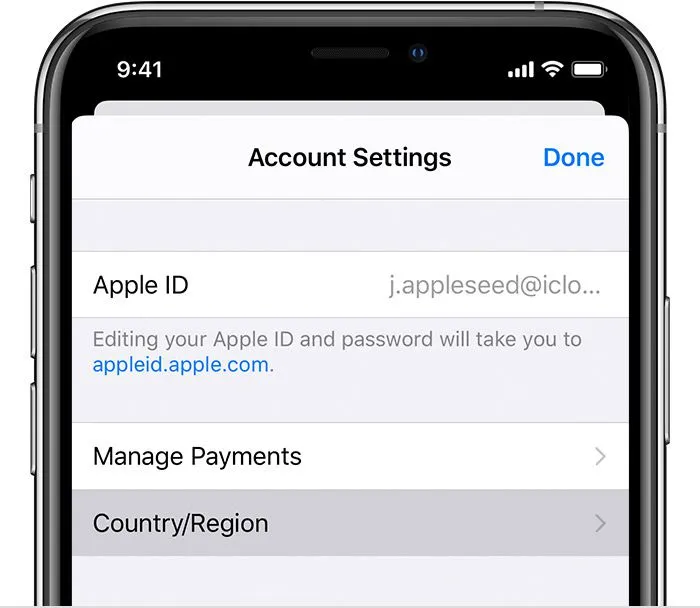
Once you have selected the “Country/Region” row, tap the “Change Country or Region” button. This window shows a list of all supported nations.
Step 6:
Locate and select the desired app store nation. A new privacy policy can be presented to you for acceptance.
Step 7:
Enter a legitimate payment method and billing address for the desired nation. To complete the App Store country change, click “Next.”
Be advised that if you change the current nation of your account, your credit for the App Store or iTunes Store might no longer be valid. Changes in the country may also impact iTunes membership pre-orders, so check payment information and billing. You can access more details about this procedure on the Apple support website.
Create a Second Apple ID for a Different Country
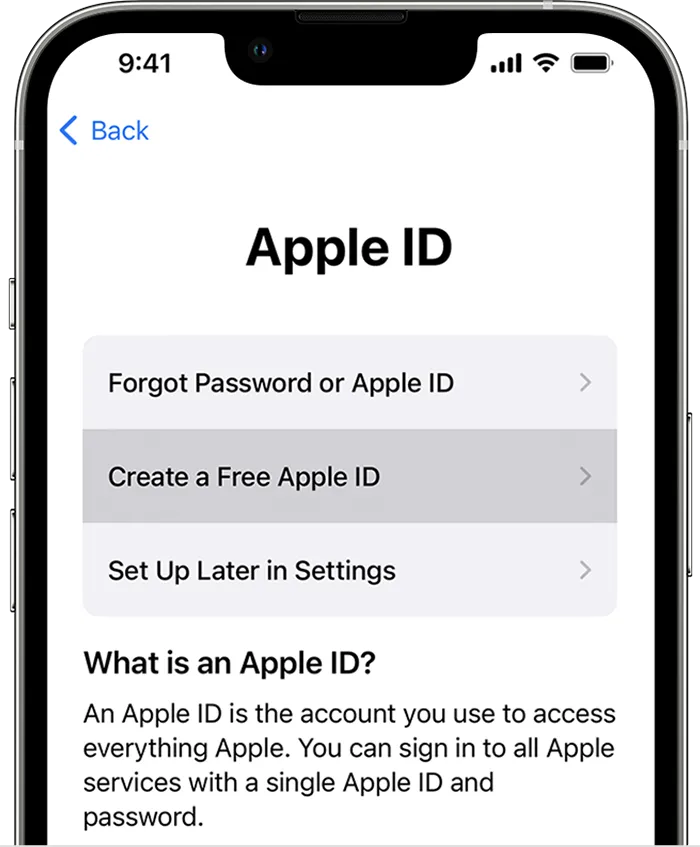
The best way to temporarily change the iTunes and App Store countries is to create a second Apple ID account. You can quickly move back and forth between your old account and the new one without requiring a foreign payment method.
Directly on your device is the simplest way to create a new Apple ID account. Make sure you choose the appropriate nation for your new account when you do this. This must be verified by adding a billing address in that nation and e-mail account verification (and possibly a phone number).
Any phone number is acceptable, including those from other nations. However, you must create a new Apple email address not linked to an active Apple ID account.
On an iPad or iPhone:
- Sign out by going to Settings > [Your Name].
- Tap Sign Out after selecting which iCloud data to save on your device.
- Tap Open at the top of the iTunes window, click Account, click View My Account, and then select Create New Apple ID.
- Below the email address and password sections, choose your new country.
- Enter a password and email address to use with your new account. An email address linked to another Apple ID account cannot be used.
- After completing each required Apple ID field, tap Next. Select None if you don’t have a part of a valid payment method for your new country. You need to select an accurate payment method for your new country, even without entering your new payment method.
- When you’re finished, select Done.
Conclusion
In concluding this topic, we have seen the simple ways to change the country on an iPhone by just performing simple steps. So next time you face this problem, follow the steps.
To change the country on your iPhone, open “Settings,” tap your name, select “iTunes & App Store,” tap your Apple ID, and choose “View Apple ID.” Under “Account,” click “Country/Region” and follow the prompts to update your location. This enables access to region-specific apps and services.
Frequently Asked Questions
You’ve attempted to change regions on your iPhone, but it hasn’t worked. Why?
Before moving regions, you must use up your store credit, cancel all your memberships, and input a new payment method for the nation you’re moving to.
Double-check to ensure none of these things are interfering if you’re trying to switch and receiving error messages. That includes unpaid pre-orders, season passes, movie rentals, or refunds. If you’re a member of a family-sharing group, you can also experience difficulty shifting areas.
Why can’t my iPhone change the country?
Make sure you cancel your subscriptions and use your store credit before trying to move to your country or area. Before attempting to change your nation or location, follow these procedures. It can change your country or region if you’re a member of a Family Sharing group.
What happens if I change my country on my iPhone?
That means you lose access to all your existing iTunes and App Store purchases when you change your Apple ID to a different country. Anything on your device is still available, and apps you’ve already downloaded still get the latest updates.
Will I lose my apps if I change countries?
If you change your App Store country, you may lose access to apps and content you have purchased. They won’t disappear if you’ve already downloaded them to the device, but you may not be able to download them again later if you delete them.
Read Also: How to Change a Sim Card on an iPhone?

