How To master Advanced Camera Settings on Your iPhone
With the rapid advancement of smartphone technology, modern iPhones now boast powerful cameras capable of capturing stunning photos and videos. While the default camera settings cater to everyday users, tapping into the advanced settings can elevate your photography and videography skills. In this guide, we’ll walk you through changing advanced camera settings on your iPhone, enabling you to control your device’s capabilities fully.
Accessing Advanced Camera Settings on iPhone
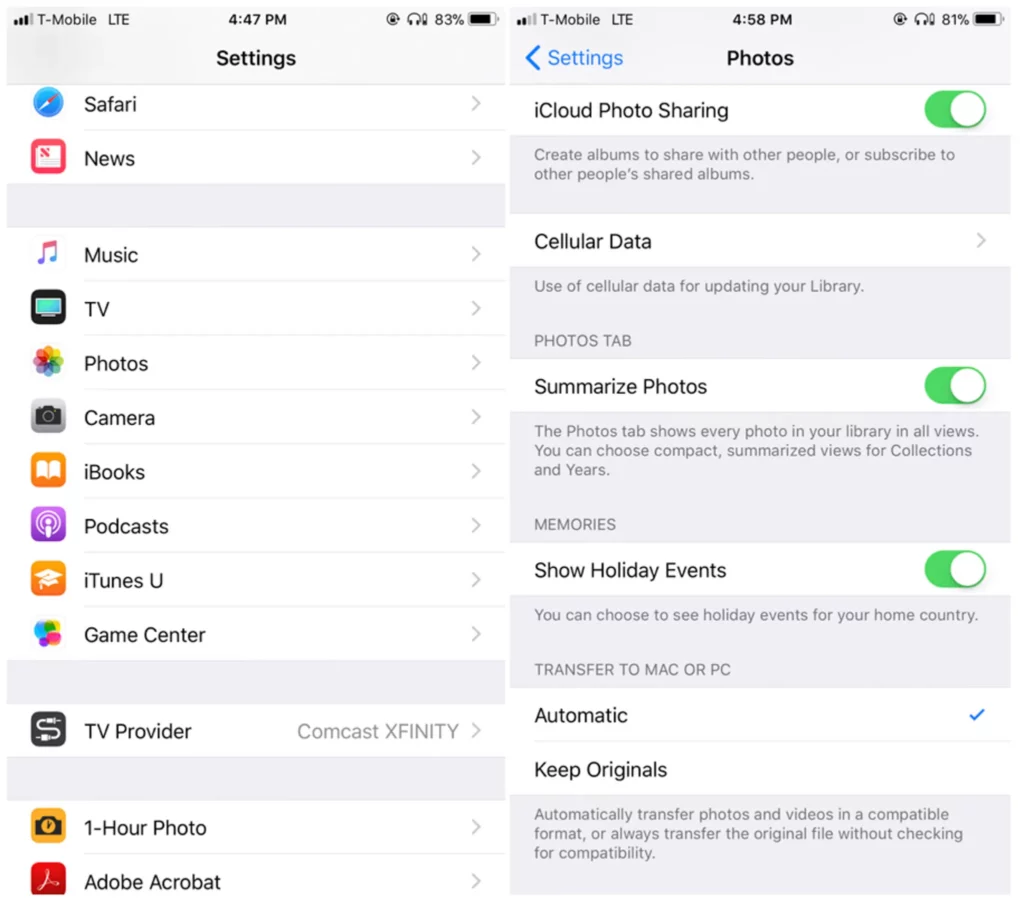
Before diving into the advanced camera settings, ensure your iPhone runs the latest iOS version to access the latest features and improvements. To access the advanced camera settings:
- Open the Camera App: Tap on the camera icon on your home screen or swipe left from the lock screen to launch the camera app.
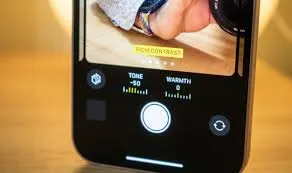
- Locate the Settings Icon: In the camera app, find the settings icon, usually represented as a gear or a series of sliders. Tap on it to access the camera settings.
- Explore Advanced Options: Within the settings, you’ll find many advanced camera settings that offer greater control over your photos and videos.
Adjusting Focus and Exposure in iPhone
Achieving the perfect balance of focus and exposure is crucial to capturing high-quality images. The iPhone offers simple yet effective ways to adjust these settings:
- Manual Focus: To take control of the focus, tap and hold on to the area you want to be in focus. The camera will lock the focus on that spot until you tap elsewhere or capture the photo.
- Exposure Control: After setting the focus, you can adjust the exposure by swiping up or down on the screen. Swiping up will brighten the image while swiping down will darken it. This is particularly useful when dealing with tricky lighting conditions.
Utilizing HDR (High Dynamic Range) In iPhone
HDR is a powerful feature that allows you to capture images with a wider range of tones, ideal for scenes with varying light intensities.
- Enable HDR: Toggle the “HDR” option in the camera settings. When enabled, the iPhone will capture multiple exposures of the same scene and blend them into a single photo with enhanced detail in shadows and highlights.
- Best Practices: HDR works best for landscape photography, high-contrast scenes, and when the subject is backlit. However, avoid using it for moving subjects, as the blending process may result in motion artifacts.
Mastering Manual Exposure and ISO on iPhone
For those seeking precise control over exposure, manual exposure, and ISO settings are invaluable tools:
- Manual Exposure: In the camera settings, find the “Exposure” or “EV” (Exposure Value) slider. Adjusting it to the right (+) will make the image brighter, while moving it to the left (-) will darken it.
- Manual ISO: ISO controls the sensitivity of the camera sensor to light. Higher ISO values (e.g., 800 or above) work well in low-light conditions but can introduce grain or noise. Lower ISO values (e.g., 100 or 200) are ideal for well-lit environments.
- Balancing Exposure and ISO: When adjusting the exposure manually, monitor the ISO value. Aim for the lowest ISO possible while maintaining the desired brightness for a cleaner image.
Exploring White Balance Settings on iPhone
White balance is crucial for ensuring your photos’ colors appear accurate and natural. Your iPhone offers several white balance presets to suit different lighting conditions:
- Auto White Balance (AWB): This default setting works well in most scenarios. The camera automatically adjusts the white balance based on the ambient lighting.
- Presets: Explore other white balance presets like “Daylight,” “Cloudy,” “Tungsten,” “Fluorescent,” and “Shade.” Choose the one that best matches the lighting conditions or experiment to achieve creative effects.
Does iPhone Have Professional Camera Settings?
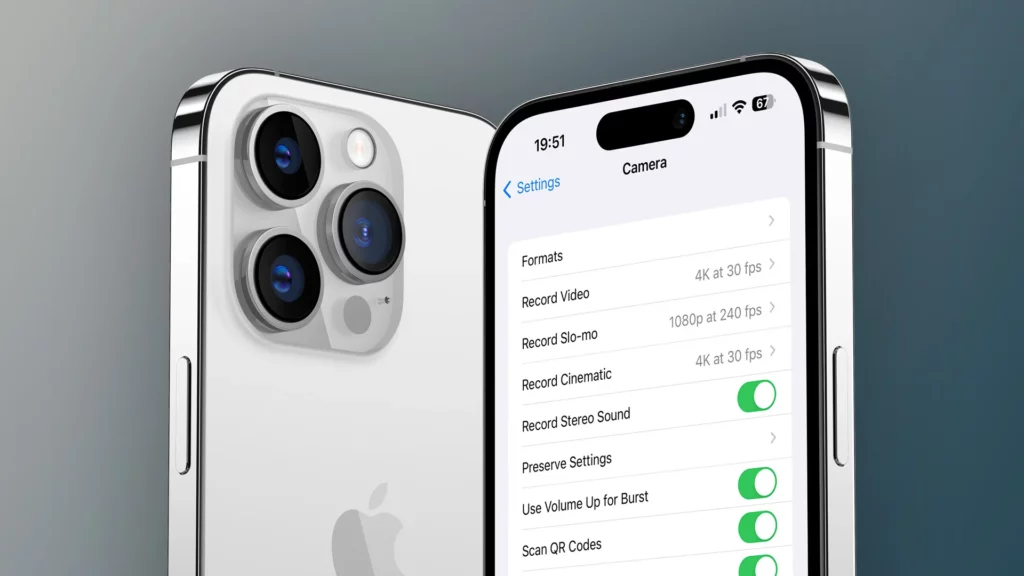
iPhones offer advanced camera settings that give users more control over their photography and videography. While the iPhone’s native Camera app is designed to be user-friendly and straightforward for most users, it includes various professional-like features that allow enthusiasts and even professional photographers to take high-quality photos and videos.
Some Advanced Camera Settings Available on iPhones Include:
- Manual Focus: Users can tap on the screen to select the area they want to be in focus, allowing for creative control over the composition.
- Manual Exposure: The exposure can be adjusted manually by swiping up or down on the screen, enabling users to control the image’s brightness.
- HDR (High Dynamic Range): HDR captures multiple exposures of the same scene and blends them to create a photo with enhanced detail in shadows and highlights.
- RAW Capture: With third-party camera apps, iPhone users can shoot in RAW format, preserving more image data and providing greater post-processing flexibility.
- White Balance Presets: iPhones offer various white balance presets, such as “Daylight,” “Cloudy,” “Tungsten,” etc., to ensure accurate color representation under different lighting conditions.
- Live Photos: This feature captures a few seconds of video before and after taking a photo, effectively creating a mini video clip.
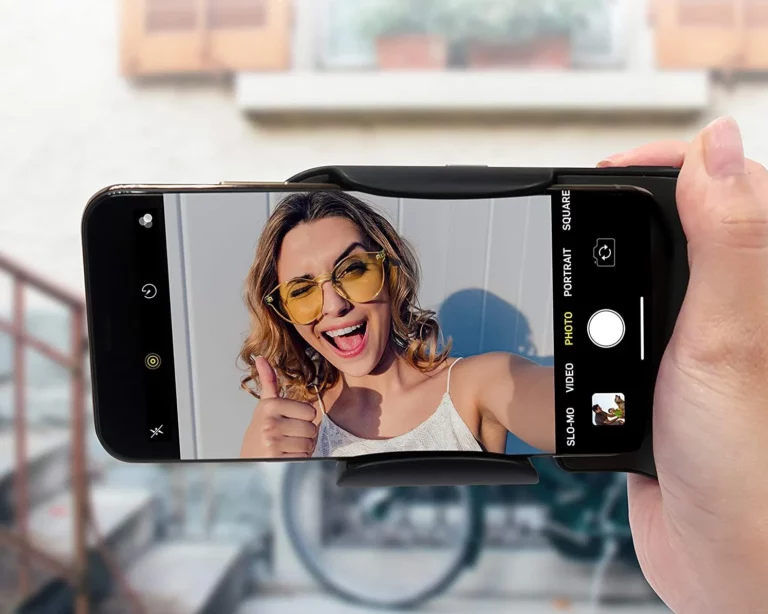
- Timer: The timer function allows users to delay the shutter release, making it helpful for self-portraits or group photos.
- Gridlines: Users can enable gridlines on the screen to help with composition and alignment.
- Pano Mode: The panoramic mode lets users capture wide-angle, sweeping shots by stitching multiple images together.
- Portrait Mode: Available on dual-lens and triple-lens iPhones, Portrait Mode uses depth-of-field effects to create professional-looking portraits with a blurred background (bokeh).
It’s essential to note that while these advanced camera settings provide more control than the basic point-and-shoot options, they are not as extensive as those found on dedicated professional cameras. Professional cameras offer a wider range of manual settings, interchangeable lenses, and larger sensors, enabling photographers to achieve even greater creative control and image quality.
Which iPhone Camera Format Is Best?
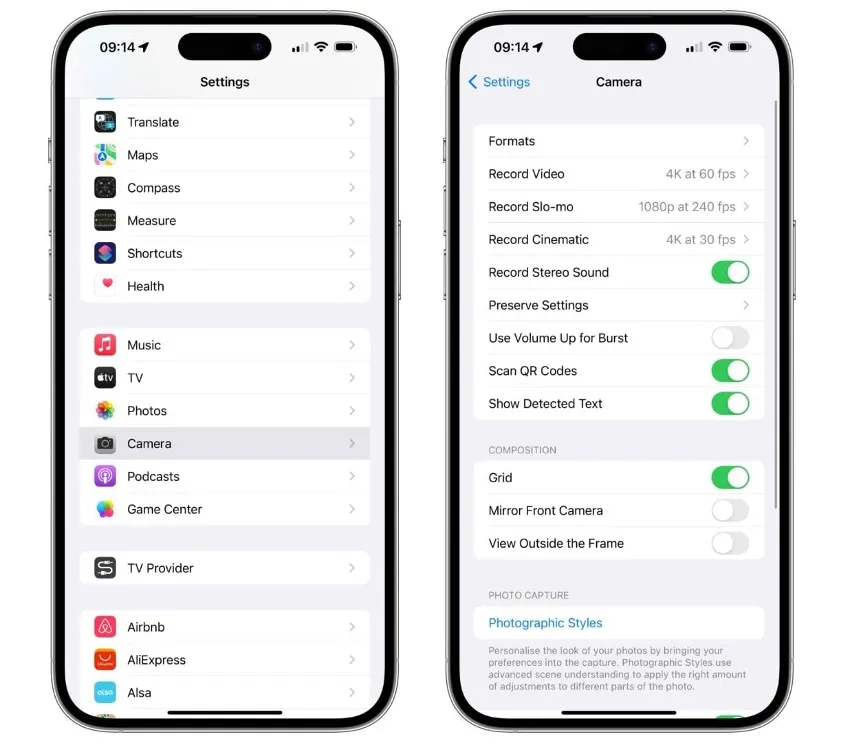
The best iPhone camera format depends on your specific needs and preferences. IPhones offer two primary image formats: JPEG and HEIF (High-Efficiency Image File Format), and for videos, the standard format is H.264 or HEVC (H.265). Each format has its advantages and considerations:
JPEG (Joint Photographic Experts Group):
Pros:
- Universally supported: JPEG is a widely recognized image format compatible with virtually all devices, platforms, and software.
- Smaller file size: JPEG compression reduces file sizes, making it more space-efficient for storing photos.
Suitable for most scenarios: JPEG works well for everyday photography and sharing on social media, where file size and compatibility are essential.
Cons:
- Lossy compression: JPEG uses lossy compression, which means some image details are discarded to achieve smaller file sizes. This can lead to a slight loss of image quality, particularly with repeated edits and compressions.
HEIF (High-Efficiency Image File Format):
Pros:
- Higher image quality: HEIF employs more advanced compression algorithms, allowing for better image quality at smaller file sizes than JPEG.
- Supports multiple images: HEIF can store multiple images (such as bursts or Live Photos) and image sequences like animations.
Cons:
- Limited compatibility: While newer devices and platforms support HEIF, some older devices, and software may not handle this format well. However, this support has been increasing over time.
Regarding Video Formats:
H.264:
Pros:
- Widely supported: H.264 is a widely used video compression standard, ensuring compatibility with various devices and platforms.
- Smaller file size: H.264’s compression efficiently reduces video file sizes without significantly losing quality.
Cons:
- Not as efficient: Compared to HEVC, H.264 requires higher bitrates for the same video quality, leading to larger file sizes.
HEVC (H.265):
Pros:
- Better compression: HEVC offers superior video compression, resulting in smaller file sizes with the same video quality as H.264.
- Suitable for high-resolution videos: HEVC is especially beneficial for 4K and higher resolution videos, where file sizes can be more substantial in H.264.
Cons:
- Compatibility concerns: Similar to HEIF, HEVC may not be supported on all devices and software, especially older ones. However, support for HEVC has been growing steadily.
If you prioritize compatibility and standardization, JPEG and H.264 are the safer options. On the other hand, if you value higher image/video quality and are confident that your devices and software support it, HEIF and HEVC can be excellent choices. Consider your needs, device compatibility, and how to use the media when selecting the best format for your iPhone camera.
Conclusion
By taking control of your iPhone’s advanced camera settings, you can transform your photography and videography experience. Experiment with different settings, understand their impact on your images and videos and unleash your creativity to capture stunning moments with precision. Whether you’re a novice or a seasoned photographer, mastering these advanced settings will undoubtedly enhance your iPhone’s capabilities and elevate the quality of your visual content.
FAQs:
How do I reset the camera settings to default?
To reset your iPhone camera settings to default, follow these steps:
* Go to Settings > Camera.
* Scroll down and tap on “Reset Settings.”
* Tap on “Reset Camera Settings” and confirm your action.
* Please note that this will only reset the camera settings and not delete your photos or videos.
Can I shoot RAW photos on my iPhone?
Yes, starting from iOS 10, iPhones support shooting RAW photos using third-party camera apps. To do this, download a compatible app from the App Store, enable the RAW capture option in the app’s settings, and start capturing photos in RAW format for greater post-processing flexibility.
Are advanced camera settings available for all iPhone models?
While most advanced camera settings are available on newer iPhone models, some features may be limited on older devices due to hardware constraints. Always ensure your iPhone is updated to the latest iOS version to access the most recent camera features.
Is it possible to adjust focus and exposure during video recording?
You can adjust focus and exposure while recording a video on your iPhone. Tap and hold on to the screen to set the focus, then swipe up or down to adjust the exposure in real time.
How do I access the camera settings quickly?
To access the camera settings quickly, you can use the 3D Touch or Haptic Touch feature (depending on your iPhone model) on the Camera app icon from the home screen. This will create a shortcut menu with quick access to certain camera settings. Tap “Settings” to access the full range of advanced camera settings.
