How to Transfer iTunes Voicemail from an Old iPhone to a new iPhone
Switching to a new iPhone is an exciting experience. However, transferring your data, including voicemail, from your old iPhone to the new one can be daunting. Voicemail messages often hold sentimental value and important information, so ensuring a seamless transfer is crucial. Whether upgrading or switching devices, this in-depth guide will show you how to transfer iTunes voicemail from your outdated iPhone to your brand-new one.
Understanding iTunes Voicemail on iPhone
Before we dive into the transfer process, let’s understand how voicemail works on an iPhone. Voicemail messages are typically stored on your mobile carrier’s servers, not your device. When you set up a new iPhone, you’ll generally have access to your voicemail messages using the same carrier and phone number. However, transferring them to your new device may still require some steps.
Backing up Your Old iPhone
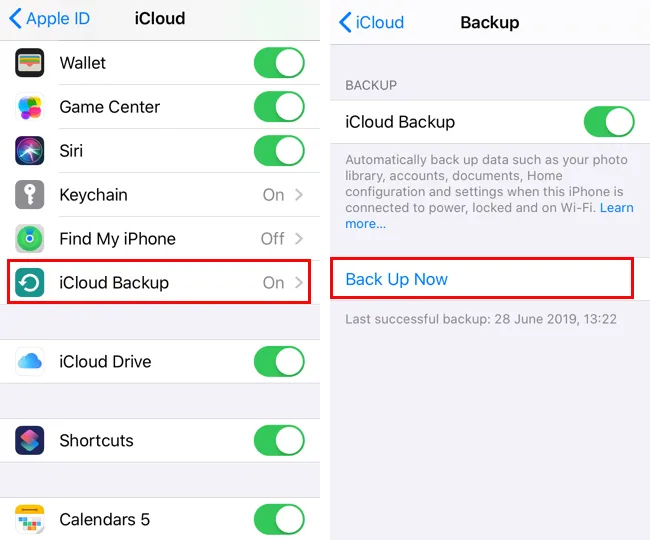
To ensure a smooth transition, it’s essential to have a recent backup of your old iPhone. Here’s how to do it:
iCloud Backup:
- Connect your old iPhone to a Wi-Fi network.
- Go to “Settings” > [Your Name] > “iCloud.”
- Tap “iCloud Backup” and ensure it’s turned on.
- Tap “Back Up Now” to create a current backup.
iTunes Backup:
- Connect your old iPhone to your computer and open iTunes (or Finder on macOS Catalina and later).
- Select your device when it appears in iTunes or the Finder.
- Click “Back Up Now.”
Restoring from an iTunes Backup
Once you have a recent backup of your old iPhone in iTunes, you can set up your new iPhone and transfer your voicemail messages.
Turn On Your New iPhone:
- Power on your new iPhone and follow the initial setup prompts until you reach the “Apps & Data” screen.
Restore from iTunes Backup:
- Choose “Restore from iTunes Backup.”
- Connect your new iPhone to your computer using a USB cable.
Select the Backup:
- Open iTunes (or Finder, depending on your macOS version).
- Select your new iPhone when it appears.
- In the “Summary” tab, click “Restore Backup.”
- Choose the most recent backup from the list and click “Restore.”
Wait for the Restore:
- The restore process may take some time, depending on the size of your backup. Ensure your computer remains connected and doesn’t go to sleep during this process.
Set Up Your New iPhone:
- Once the restore is complete, your new iPhone will restart. Follow the on-screen instructions to set up your device.
Check Your Voicemail:
- After setup, check your voicemail to ensure your messages have transferred successfully.
Troubleshooting iTunes Voicemail Transfer
In some cases, you may encounter issues with voicemail transfer. Here are some troubleshooting tips:
Contact Your Carrier:
- Contact your mobile carrier for assistance if your voicemail messages still don’t appear on your new iPhone. They may need to reset your voicemail settings.
Visual voicemail check:
- Ensure that Visual Voicemail is set up and functioning correctly on your new device. Sometimes, toggling it off and on can help.
Try Again:
- If the initial transfer didn’t work, repeat the process, selecting the correct backup and following all the steps accurately.
Using Third-Party Tools for iTunes Voicemail Transfer
If the standard methods aren’t working or you need more control over your voicemail transfer, consider using third-party tools or services designed for this purpose. These tools may offer additional features and flexibility.
Where Are iPhone Voicemails Stored?
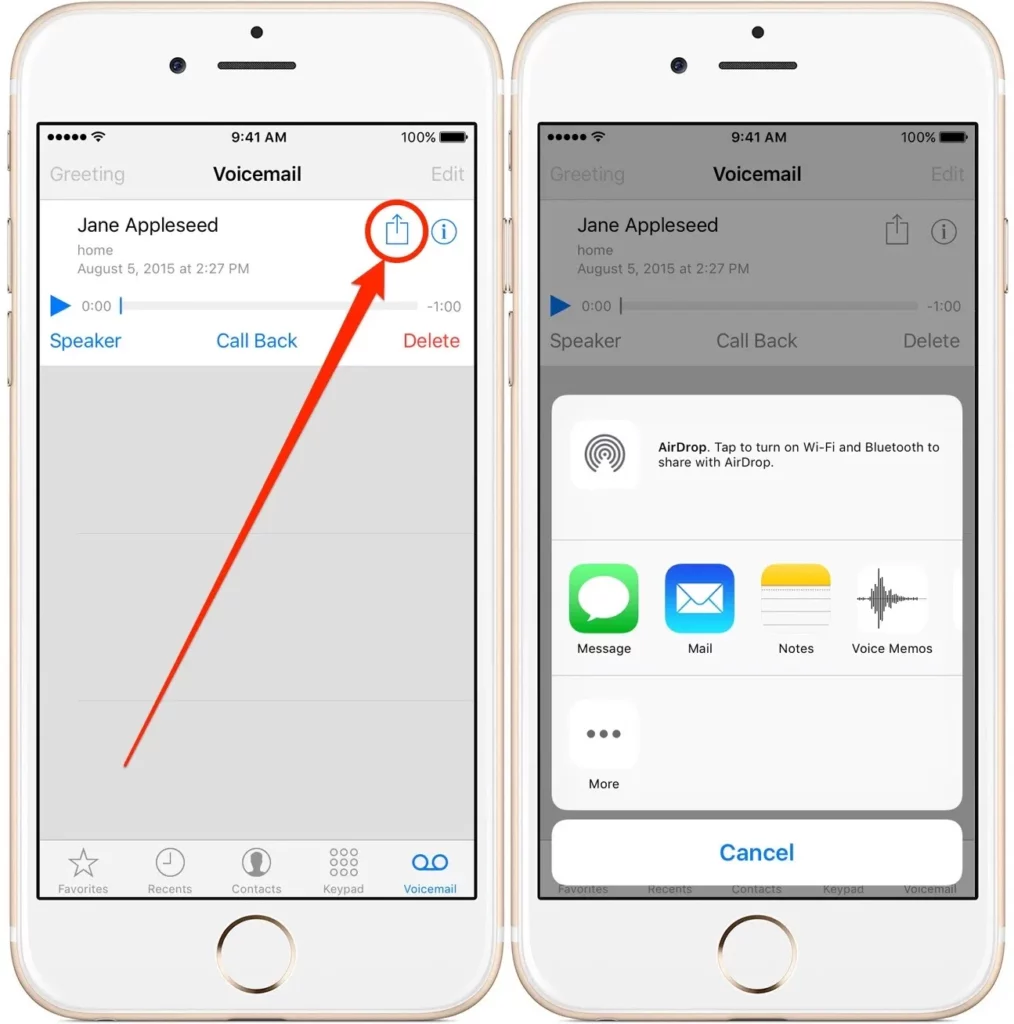
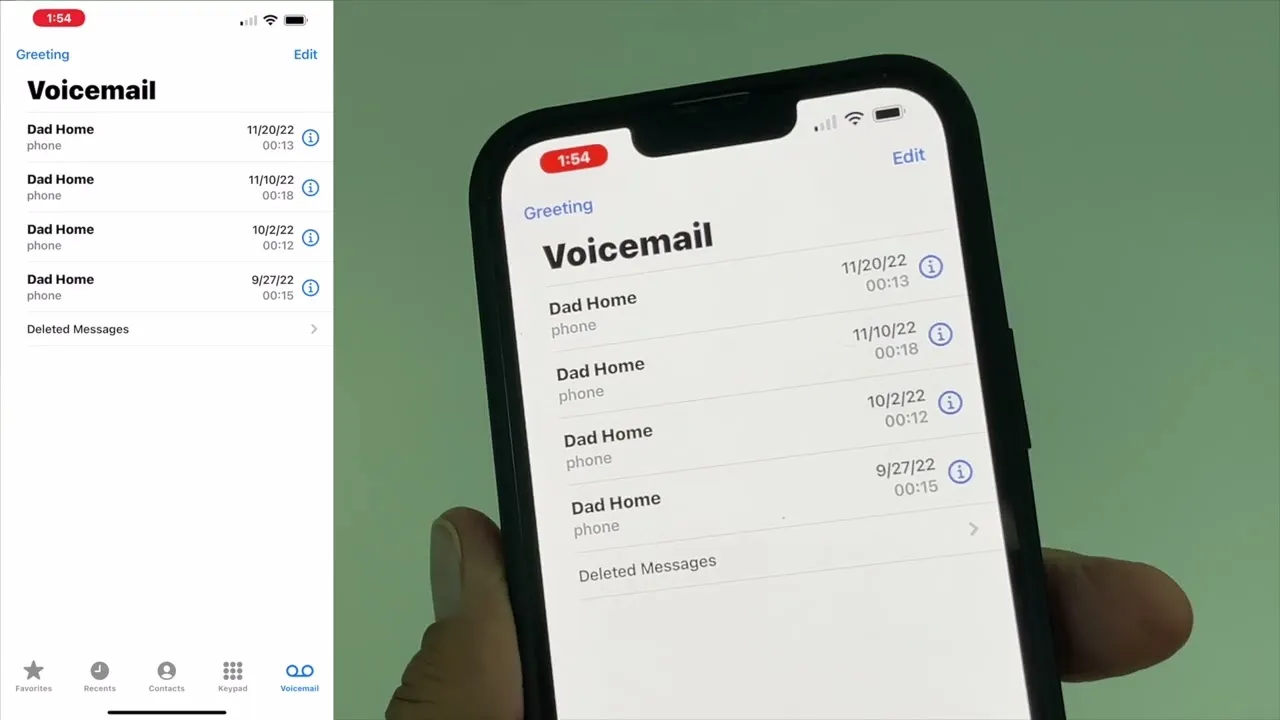
iPhone voicemails are not stored directly on the device but are typically hosted on your mobile carrier’s servers. When someone leaves you a voicemail, it is recorded and saved on your carrier’s system. Your iPhone is merely a client to access and manage these voicemail messages.
Here’s How It Generally Works:
Recording: When someone leaves you a voicemail, their message is recorded and stored on your mobile carrier’s server.
- Notification: Your carrier sends a notification to your iPhone to inform you that you have a new voicemail. This notification typically appears in your iPhone’s voicemail tab.
- Access: You can use your iPhone’s voicemail app or the Phone app’s voicemail tab to access and listen to your voicemail messages. Your iPhone downloads the voicemail message from your carrier’s server for you to listen to.
- Storage: Your iPhone may temporarily store downloaded voicemail messages locally on the device for convenience, but the primary storage location is still on your carrier’s servers.
This arrangement allows you to access voicemail messages from any device supporting your mobile carrier’s system, not just your iPhone. It also means that when you switch to a new iPhone or change phones, you can still access your voicemail messages if you have the same phone number and carrier.
Remember that the specifics of how voicemail is managed and accessed can vary slightly depending on your carrier and your iPhone’s settings, but the general concept remains the same.
How to Transfer iTunes Voicemail from iPhone to Computer
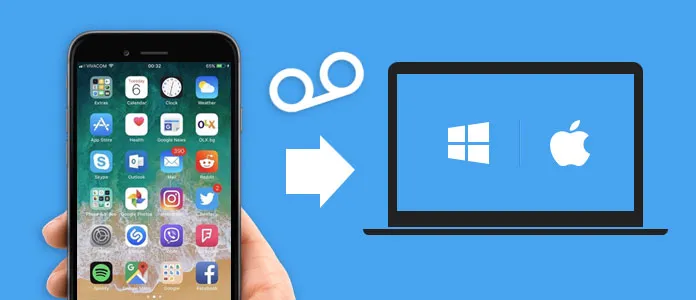
Transferring voicemail from your iPhone to a computer can be a useful way to back up important voicemail messages or free up space on your phone. Here are several methods to transfer voicemail from an iPhone to a computer:
Method 1: Using a Voicemail-to-Email Service (Recommended)
Check Your Voicemail Settings:
- Open the Phone app on your iPhone.
- Tap “Voicemail.”
- Tap “Greeting” or “Voicemail” settings.
- Ensure your voicemail is set to send voicemail messages to your email as audio attachments. This may vary depending on your carrier.
Access Voicemail from Your Email:
- Check your email regularly; you should receive voicemail messages as attachments.
- Save these voicemail attachments to your computer by downloading them from your email client.
Method 2: Using a Voicemail Backup App
Some third-party apps can help you back up and manage your voicemail messages. One such app is “YouMail.” Here’s how to use it:
Download YouMail:
- Install the YouMail app from the App Store on your iPhone.
Set Up YouMail:
- Open the YouMail app and follow the setup instructions to link it to your voicemail.
Access Voicemails:
- Once set up, YouMail will store your voicemails in the app.
- Using its features, you can access your voicemails within the app and save them to your computer.
Method 3: Using a Voicemail-to-Text Service
Some services, like Google Voice, offer voicemail-to-text transcription. While this won’t transfer the actual voice recording, it can provide a written version of your voicemail messages that you can save. Here’s how to do it with Google Voice:
Set Up Google Voice:
Sign up for one if you don’t already have a Google Voice account.
Link Your Phone Number:
- Link your iPhone’s phone number to Google Voice.
Voicemail Transcription:
- Once set up, Google Voice can transcribe your voicemail messages and send them to your email as text.
- You can then save these text transcriptions to your computer.
Method 4: Using a Voicemail Backup Service (Paid Option)
Some paid services specialize in backing up and managing voicemail messages on your iPhone. One such service is “iExplorer.” Here’s how to use it:
Download and Install iExplorer:
- Download and install iExplorer on your computer.
Connect Your iPhone:
- Connect your iPhone to your computer using a USB cable.
Access Voicemail:
- Open iExplorer and navigate to the voicemail section.
- You should be able to access your voicemail messages and save them to your computer.
Remember to check the terms of service and privacy policies of any third-party apps or services you use to ensure your data’s security and privacy.
By following one of these methods, you can transfer voicemail from your iPhone to your computer, allowing you to save and manage your important voicemail messages more effectively.
Conclusion
Transferring iTunes voicemail from an old iPhone to a new one is manageable when you have the right backup and follow the steps outlined in this guide. Remember to keep your backups up-to-date to ensure you always have access to your important voicemail messages, regardless of which iPhone you use. With a successful transfer, you can continue to cherish those sentimental messages and access essential information seamlessly on your new iPhone. Enjoy your upgraded device and the memories it holds!
