How to Repair Your iPhone Screen at Home with Some Easy Steps
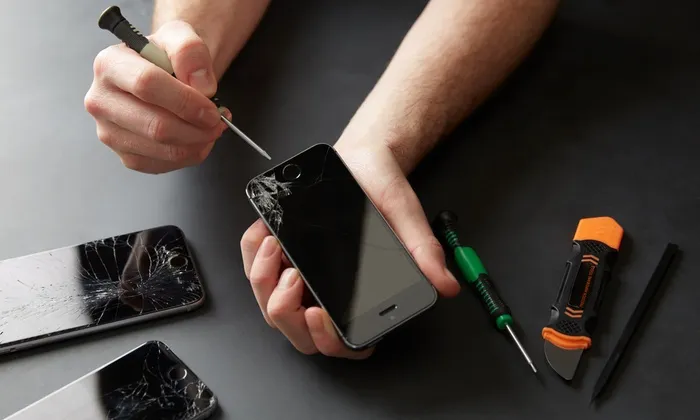
In a world where technology rules, smartphones have become essential. The iPhone stands out as a symbol of innovation and sleek design. However, accidents happen, and cracked screens are an all-too-common occurrence. While repairing your iPhone screen professionally is the ideal solution, you might be surprised to learn that repairing the screen at home is possible, provided you have the right tools, patience, and a steady hand. This comprehensive guide will walk you through the step-by-step process of repairing your iPhone screen at home while addressing common questions and concerns.
Is DIY Repair the Right Choice for You?
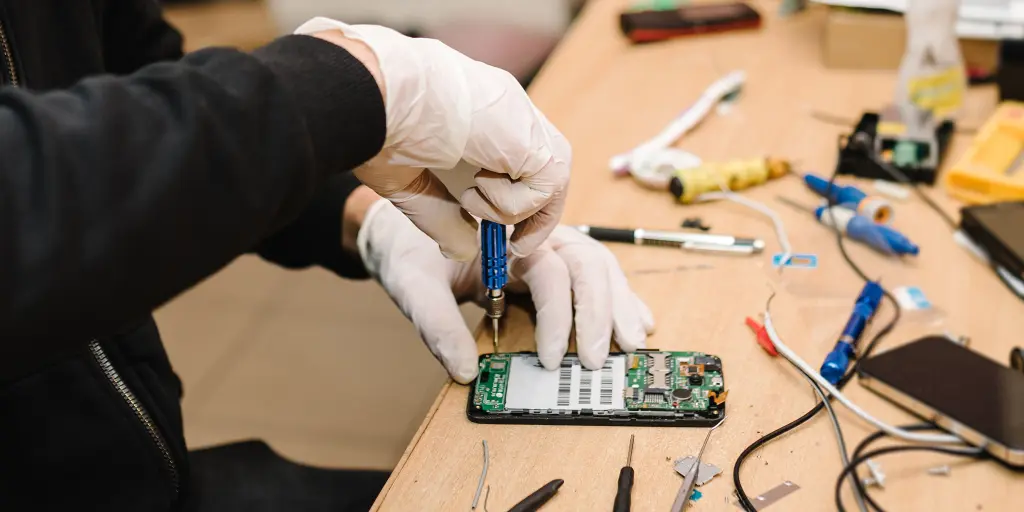
Before diving into the repair process, assessing whether DIY repair is the right choice for your situation is essential. If your iPhone is still under warranty, attempting a home repair might void the warranty, so checking your warranty status before proceeding is recommended. Also, hiring repair professionals might be safer if you’re uncomfortable working with delicate electronics or don’t have the necessary tools.
Tools and Materials You’ll Need
To repair your iPhone screen at home, you’ll need a few essential tools and materials:
- Replacement Screen Kit: Ensure you purchase a high-quality screen compatible with your iPhone.
- Screwdrivers: You’ll need specialized screwdrivers, including Pantalone and Phillips, to open your iPhone.
- Plastic Opening Tools: These tools help gently pry open the iPhone without damaging the casing or internal components.
- Tweezers: Precise tweezers are essential for handling small components.
- Adhesive Strips: These are used to secure the new screen in place.
- Heat Gun or Hair Dryer: These tools soften the adhesive holding the old screen in place.
Step-by-Step Guide to Repairing Your iPhone Screen
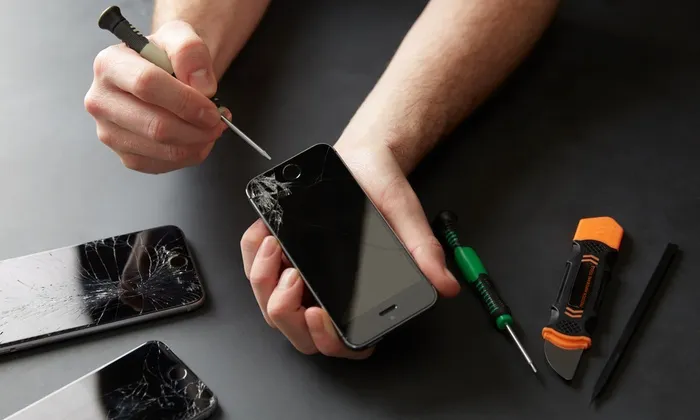
Step 1: Prepare Your Workspace
- Choose a clean, well-lit workspace with ample room to lay out your tools and iPhone components. A clutter-free environment will help you stay organized throughout the repair process.
Step 2: Power Down and Remove Screws
- Power off your iPhone and remove the screws from the bottom edge using the Pentalobe screwdriver.
- Gently slide a plastic opening tool along the seam to separate the screen from the casing.
Step 3: Disconnect the Battery
- Carefully detach the battery connector to ensure your safety while working on the device. This step prevents any accidental electrical discharges.
Step 4: Remove the Old Screen
- Use a heat gun or hair dryer to warm the edges of the iPhone. This softens the adhesive beneath the screen.
- Carefully insert plastic opening tools to lift the old screen from the casing gradually. Take your time to avoid damaging the fragile components.
Step 5: Transfer Components to the New Screen
- Remove the screws securing the components, such as the front-facing camera, earpiece speaker, and home button, from the old screen.
- Gently transfer these components to the new screen.
Step 6: Apply Adhesive Strips
- Attach adhesive strips to the edges of the new screen. Once it’s attached to the iPhone’s casing, these strips will secure the screen.
Step 7: Attach the New Screen
- Carefully align the new screen with the iPhone’s casing and gently press it into place.
- Firmly press along the edges to ensure the adhesive strips bond securely.
Step 8: Reconnect Components
- Reconnect the front-facing camera, earpiece speaker, and home button, ensuring all connections are secure.
Step 9: Reattach the Battery and Close the Casing
- Carefully reattach the battery connector and ensure it’s properly secured. Then, carefully close the casing and reinsert the screws along the bottom edge.
Step 10: Power On and Test
- Power on your iPhone and test the new screen. Check the touch responsiveness, display quality, and all components to ensure everything functions correctly.
20 Ways to Repair Your iPhone Screen at Home
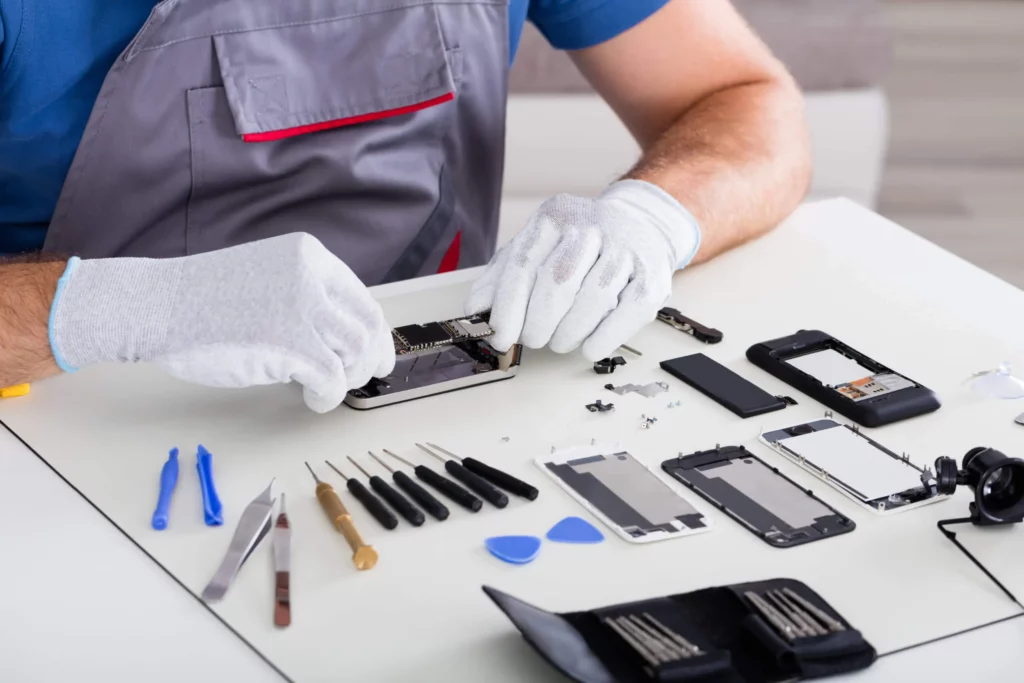
Repairing an iPhone screen at home can be challenging and potentially risky if you’re unfamiliar with electronics and DIY repairs. It’s important to note that attempting these repairs could void your warranty or cause further damage to your device. If you decide to proceed, research thoroughly, use the right tools, and proceed cautiously. Here are some general steps you might consider, but keep in mind that I cannot guarantee their effectiveness or safety:
- Gather the necessary tools:
- Before starting, ensure you have the appropriate tools, such as a pentalobe screwdriver, a Hillips screwdriver, a spudger, tweezers, and a suction cup.
- Purchase a Replacement Kit:
- Order a replacement screen kit with all the necessary components and tools. Kits often come with instructions to guide you through the process.
- Prepare a Clean Work Area:
- Choose a clean, well-lit workspace with ample room to lay out your tools and components.
- Back up Your Data:
- Ensure your iPhone is backed up so you don’t risk losing data during the repair.
- Power off Your iPhone:
- Turn it off and disconnect it from any power source.
- Remove the screws:
- Use the appropriate screwdriver to remove the screws around the frame of your iPhone. Keep track of the screws and their positions.
- Pry the Device:
- Gently use a plastic spudger to separate the screen from the device’s body. Work your way around the edges to avoid damaging the internal components.
- Disconnect the Battery:
- Locate and disconnect the battery once the screen is open to prevent accidental electrical damage.
- Remove the Broken Screen:
- Carefully detach the broken screen from the device by undoing any connectors and screws holding it.
- Transfer Components:
- If your kit doesn’t include components like the front camera or home button, you’ll need to transfer these from the old screen to the new one.
- Attach the New Screen:
- Follow the instructions in your replacement kit to attach the new screen, securing it with screws and connectors.
- Connect the Battery Again:
- Reconnect the battery once the new screen is securely in place.
- Test the Screen:
- Power on your iPhone and test the new screen to ensure it’s functioning correctly. Check touch sensitivity and display quality.
- Secure the Device:
- If everything works as expected, secure the device’s frame by reinserting and tightening the screws.
- Apply Adhesive:
- Some kits include adhesive strips to ensure a secure screen and device bond. Apply them according to the directions if necessary.
- Water Seal Replacement:
- If your iPhone is water-resistant, replace any water-resistant seals or gaskets that were removed.
- Double-Check Connections:
- Double-check that all connectors are properly seated and secured before closing the device.
- Close the Device:
- Carefully align the screen and press it back into place. Ensure no gaps exist between the screen and the device’s body.
- Tighten Screws:
- Use the appropriate screwdriver to tighten the screws around the device’s frame.
- Test Again:
- Power on your iPhone again and perform a final test to ensure everything functions correctly.
Remember that repairing an iPhone screen is a complex process that requires technical skills and attention to detail. If you’re not confident in your abilities, seek professional help from Apple or a reputable repair service.
Conclusion:
Repairing your iPhone screen at home can be a rewarding DIY project if approached with the right tools, patience, and caution. Following this step-by-step guide should help you navigate the process successfully. However, if you are unsure about any aspect of repair or are not confident in your abilities, it is always a good idea to consult professionals. Ultimately, the choice between a DIY repair and professional assistance depends on your comfort level and the circumstances of your iPhone.
Frequently Asked Questions (FAQs)
Is repairing my iPhone screen at home safe?
While repairing your iPhone screen at home is possible, it requires careful attention to detail and patience. If you’re uncomfortable with delicate electronics, it might be safer to seek professional repair services.
Can I repair any iPhone model at home?
The repair process can vary slightly between iPhone models due to differences in design and components. Ensure you have a replacement screen kit specifically designed for your iPhone model.
How long does the repair process take?
The repair process can take anywhere from 1 to 3 hours, depending on your familiarity with the process and the tools you have available.
What if I damage other components during the repair?
Mishandling components or using improper tools can lead to further damage. Proceed with caution; if you encounter any issues, it’s best to stop and seek professional help.
My iPhone is still under warranty; can I still repair it at home?
Repairing your iPhone at home might void the warranty. If your iPhone is still under warranty, consider contacting Apple or an authorized service provider for assistance.
